Appearance
Serverless
了解Serverless
Serverless 是一种架构模式,无服务器架构。
- 对于使用 Serverless 架构进行开发的项目,开发者最明显的感受就是更关注应用的业务本身,不必再去过多关心服务器和运行平台的一系列问题。
- 无服务器,并不是真的没有服务器,只是开发人员眼中不需要关注服务器。开发人员只需要按照一定的要求完成开发工作,剩下的所有事情全部交给 Serverless 容器完成。
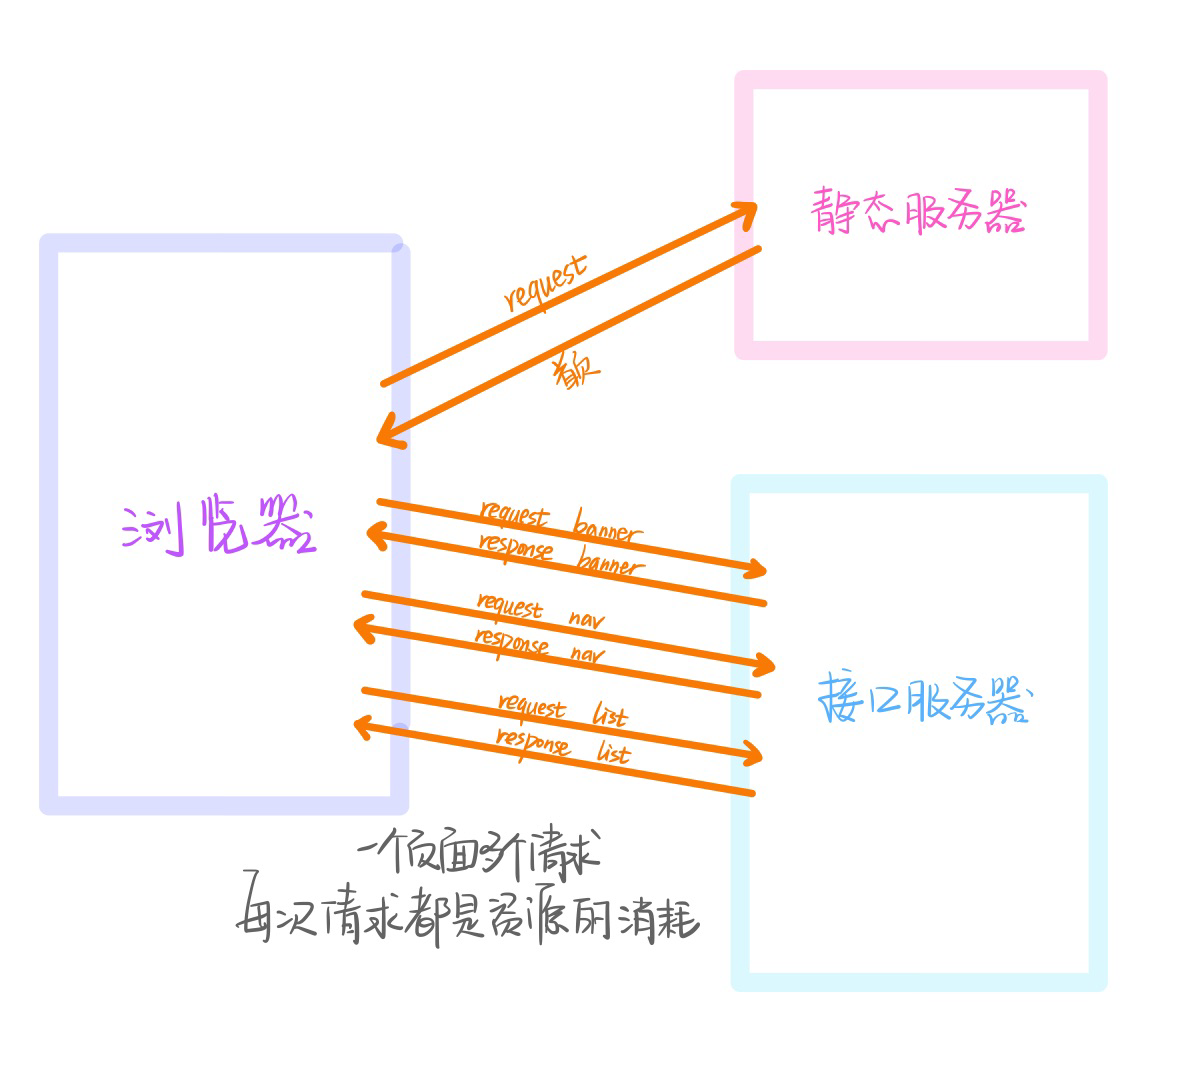
- 我们的应用主要由两大块组成,分别是
逻辑与存储。Serverless 中就通过两种方式解决了这两块的需求,分别是:- 函数即服务,Function as a Service,FaaS;(逻辑)
- 后端即服务,Backend as a Service,BaaS。(存储)
Serverless的优势
- 不需要再考虑什么物理机/虚拟机,结合工作流的情况下,代码提交自动部署,直接运行;
- 没有服务器,维护成本自然大大降低,安全性稳定性更高;
- 都是弹性伸缩云,硬件资源需要多少分配多少,不用担心性能问题;
- 大多数 Serverless 服务商的计价方式都是按使用情况(如流量、CPU 占用)来收费;
Serverless用例
demo1
- 创建一个项目,名称nodepro
npm init -y- 创建api文件夹,和hello.js文件,里面将实例粘贴
js
module.exports = (req, res) => {
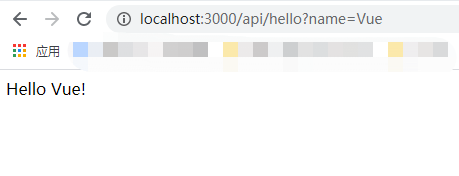
const { name = 'World' } = req.query
res.status(200).send(`Hello ${name}!`)
}- 使用vercel本地创建项目
vercel dev,如果没有登录要进行登录
bash
Set up and develop “E:\professer\lagou\ServerLess\nodepro”? [Y/n] y
? Which scope should contain your project? a1burning
? Link to existing project? [y/N] n
? What’s your project’s name? nodepro
? In which directory is your code located? ./
No framework detected. Default Project Settings:
- Build Command: `npm run vercel-build` or `npm run build`
- Output Directory: `public` if it exists, or `.`
- Development Command: None
# 是否去修改默认的设置
? Want to override the settings? [y/N] y
? Which settings would you like to overwrite (select multiple)?
(Press <space> to select, <a> to toggle all, <i> to invert selection)
# 选择这个
› ▫︎ Build Command
? Which settings would you like to overwrite (select multiple)?
None
�  Linked to a1burning/nodepro (created .vercel and added it to
.gitignore)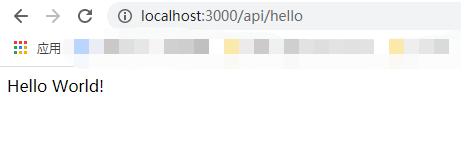
> Ready! Available at http://localhost:3000- 点击链接http://localhost:3000可以访问当前的目录地址,接口名称就是api下面的js文件名称
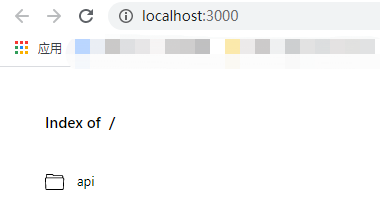
- 输入地址可以看到访问了对应的api
demo2
- 在api文件夹下面创建demo2.js,并写下面的代码
可以下载模板vue-vercel-nodepro
js
import axios from 'axios'
module.exports = async (req, res) => {
  const { data } = await axios.get('https://conduit.productionready.io/api/tags')
  let html = '<ul>'
  data.tags.forEach(item => {
    html += `<li>${item}</li>`
  })
  html += '</ul>'
  res.status(200).send(html)
}- 安装axios
npm i axios --save-dev vercel dev发布本地,访问页面http://localhost:3000/api/demo2

demo3
如果不想要买存储服务,一些小的项目可以用json文件代替,
js
module.exports = (req, res) => {
  const data = require('../data.json')
  res.json(data)
}json-server
这是一个程序,有两种用法,一种是当工具来用,一种是当模块来用.
json-server当工具用
- 全局安装程序
bash
npm install -g json-server- 创建data文件夹,和一个db.json文件
json
{
"posts": [
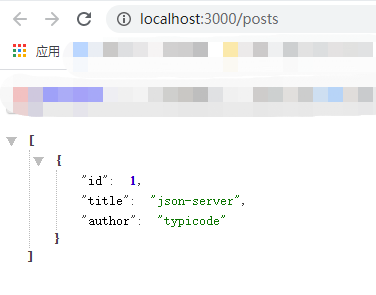
{ "id": 1, "title": "json-server", "author": "typicode" }
],
"comments": [
{ "id": 1, "body": "some comment", "postId": 1 }
],
"profile": { "name": "typicode" }
}- 开启JSON Server
bash
json-server --watch data/db.json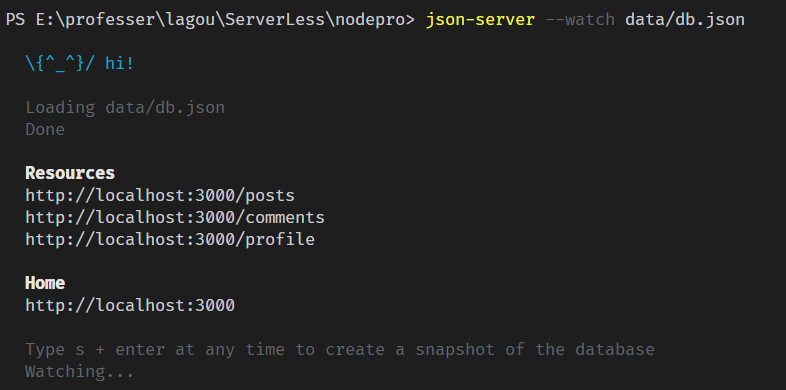
- 访问
http://localhost:3000/posts可以看到接口结果
其他的还可以增删改查 lowdb
json-server当模块用
demo4
- 安装
npm install json-server --save-dev - 在api/server.js中写
js
// server.js
const jsonServer = require('json-server')
const server = jsonServer.create()
// 这里不能使用相对路径,会报错,需要使用绝对路径
// const router = jsonServer.router('./data/db.json')
const router = jsonServer.router(path.join(__dirname, '../data/db.json'))
const middlewares = jsonServer.defaults()

server.use(middlewares)
server.use(router)

module.exports = server- 配置路由now.json/vercel.json
json
{
  "version": 2,
  "routes": [
    { "src": "/api/server/(.*)", "dest": "/api/server.js" }
  ]
}- 执行
vercel dev,并访问http://localhost:3000/api/server/posts
可以看到页面返回数据

- 下载postman,并登陆
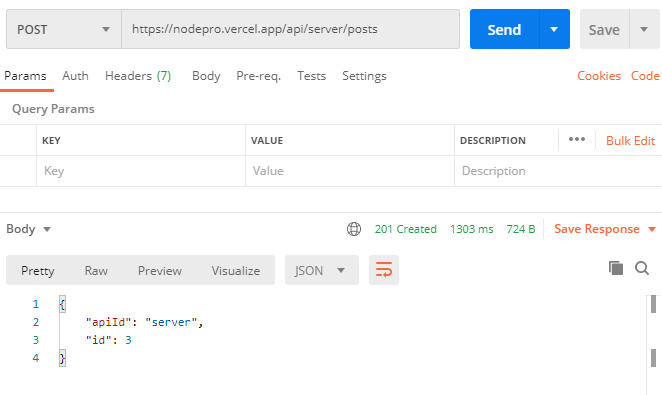
创建一个Collections,再创建一个request,是post的http://localhost:3000/api/server/posts?title=json-xxxx&author=hahahah,点击send,发送了一条数据
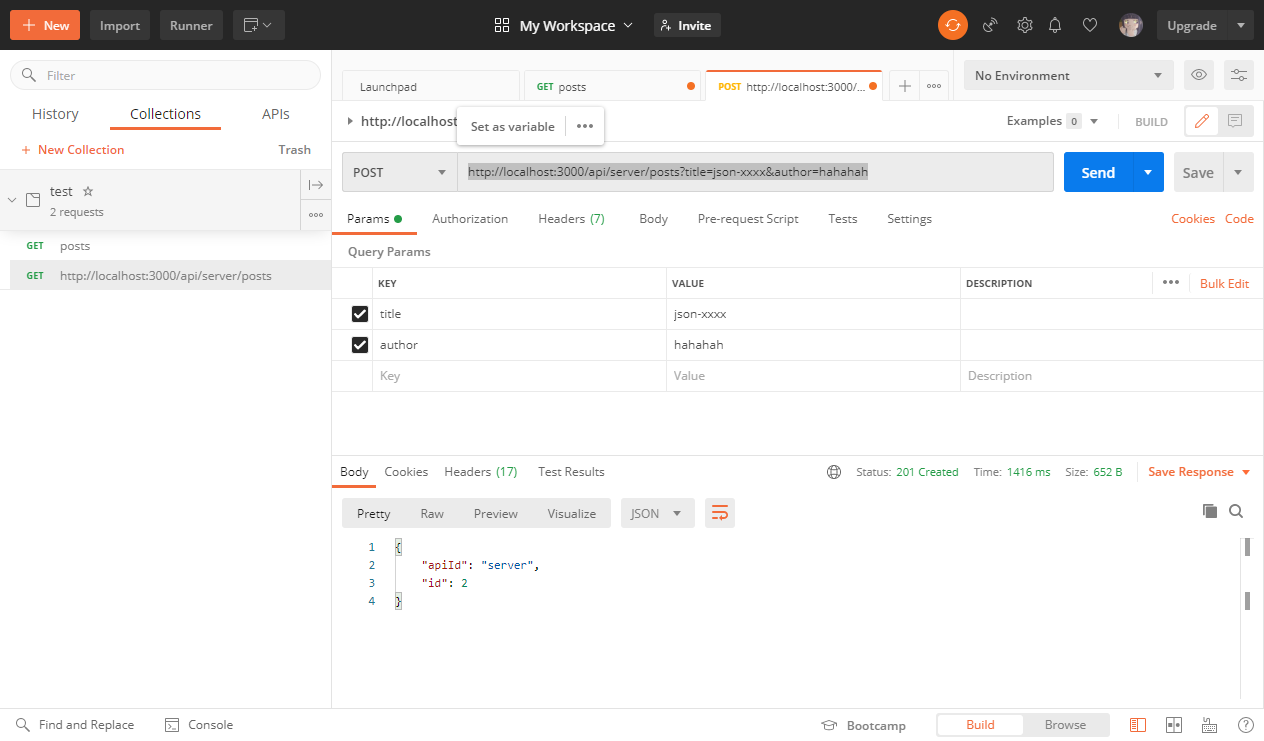
有一个问题是json-server只识别apiId的数据,所以这边把所有的数据都添加一个apiId就可以了.
再将项目
vercel --prod发布之后,去postman上面插数据,可以看到报错
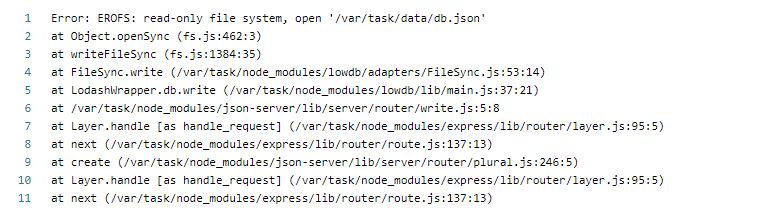
原因是接口默认都是只读接口,如果都是可写的可能存在威胁,如果要写操作,需要使用temp临时文件夹
js
const path = require('path')
const os = require('os')
const fs = require('fs')
const jsonServer = require('json-server')
const server = jsonServer.create()

const middlewares = jsonServer.defaults()

const dbFilename = path.join(os.tmpdir(), 'db.json')

// 判断一下 dbFilename 是否存在,如果不存在才创建
if (!fs.existsSync(dbFilename)) {
  fs.writeFileSync(dbFilename, JSON.stringify({
    "posts": [
      { "id": 1, "title": "json-server", "author": "typicode", "apiId": "server" },
      { "id": 2, "title": "iis", "author": "ms", "apiId": "server" }
    ],
    "comments": [
      { "id": 1, "body": "some comment", "postId": 1, "apiId": "server" }
    ],
    "profile": { "name": "typicode", "apiId": "server" }
  }))
}

const router = jsonServer.router(dbFilename)
server.use(middlewares)
server.use(router)

module.exports = server8.然后用postman去send接口,可以插入.